Printing a linocut involves some preparation & planning.
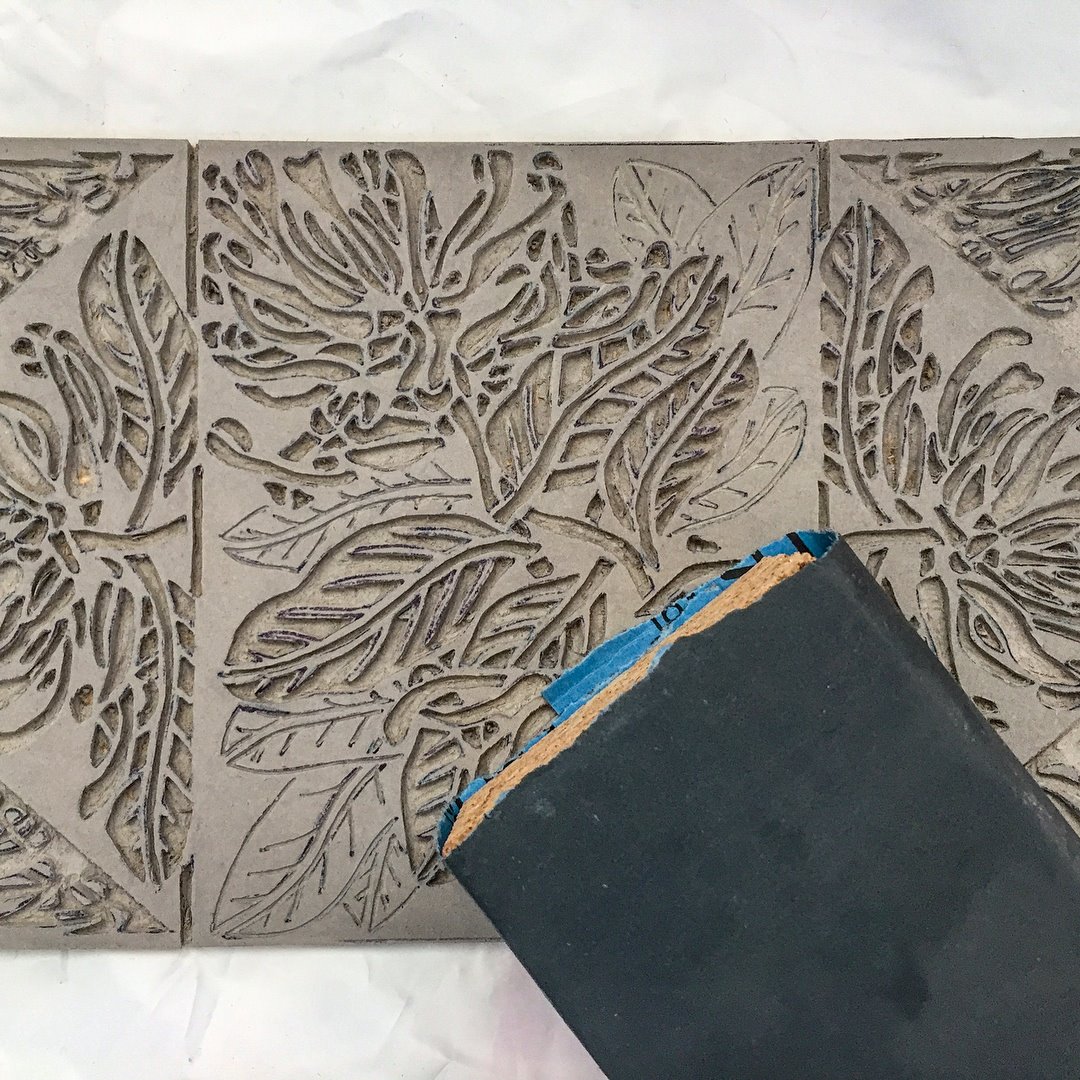
I use a the finest wet & dry sandpaper to very gently clean off the surface of the lino block (tiny amount of water) to leave it as smooth as possible for printing.
The paper needs to be cut & a template in which to place the linoblock & paper to make the print fit neatly & consistently as is possible with handprinting on each sheet of paper.
Then setting up the print table so that you can make a clear work process from rolling out ink to placing it into the press. All surfaces should be clean & free as much as is possible of dust etc to help keep each print as clean as is possible.
Then rolling out the ink as evenly as possible initially onto a glass/perspex plate, then the linoblock. It is important to use thin layers of ink – there is a particular ‘hiss’ that you learn to hear when the ink is evenly spread. Under inking will lead to parts of the design showing white spaces & over inking will lead to the smaller grooves carved into the lino filling up & losing the design or thick splodges. The aim is to get the ink rolled as evenly as possible to transfer the design you have carved at its optimum. Not an easy task! Especially when printing the 66 in this edition. Invariably some will not make the grade so plan to print more than the edition so you can get as many as possible as clean & clear.
Finally I use a small book press but you can use larger presses, etching presses (better for single colours than mulitple colours for registration issues) or rubbing the back of the paper placed on the block with a wooden spoon, baren or something similar.
Once the designs are printed they need to be placed somewhere safe to dry. I have a drying cupboard my Dad made for me many years ago. Others have custom drying racks or hanging peg racks.
Here are few photos from Instagram showing the printing progress.

Leave a comment