
Well I have been steadily working on the linocut carving. Took a break for a day yesterday but back at it today.
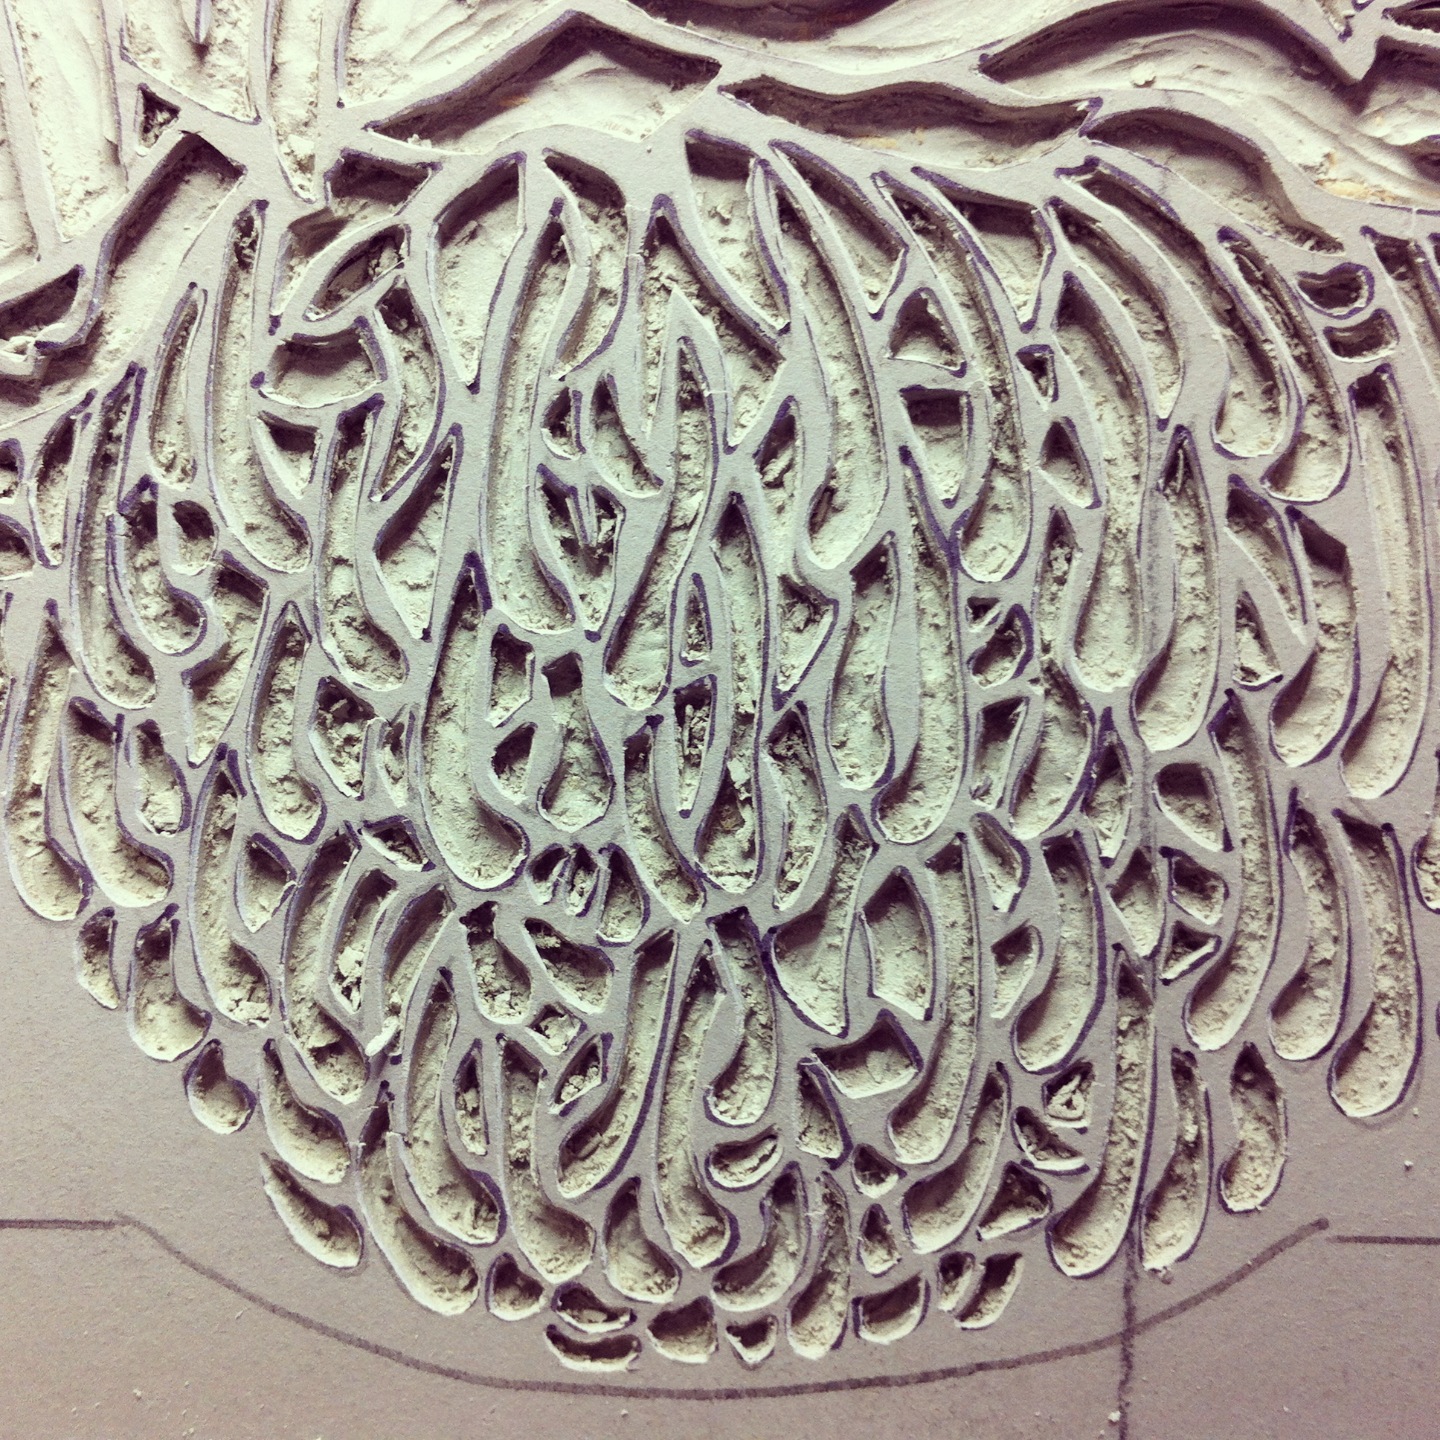
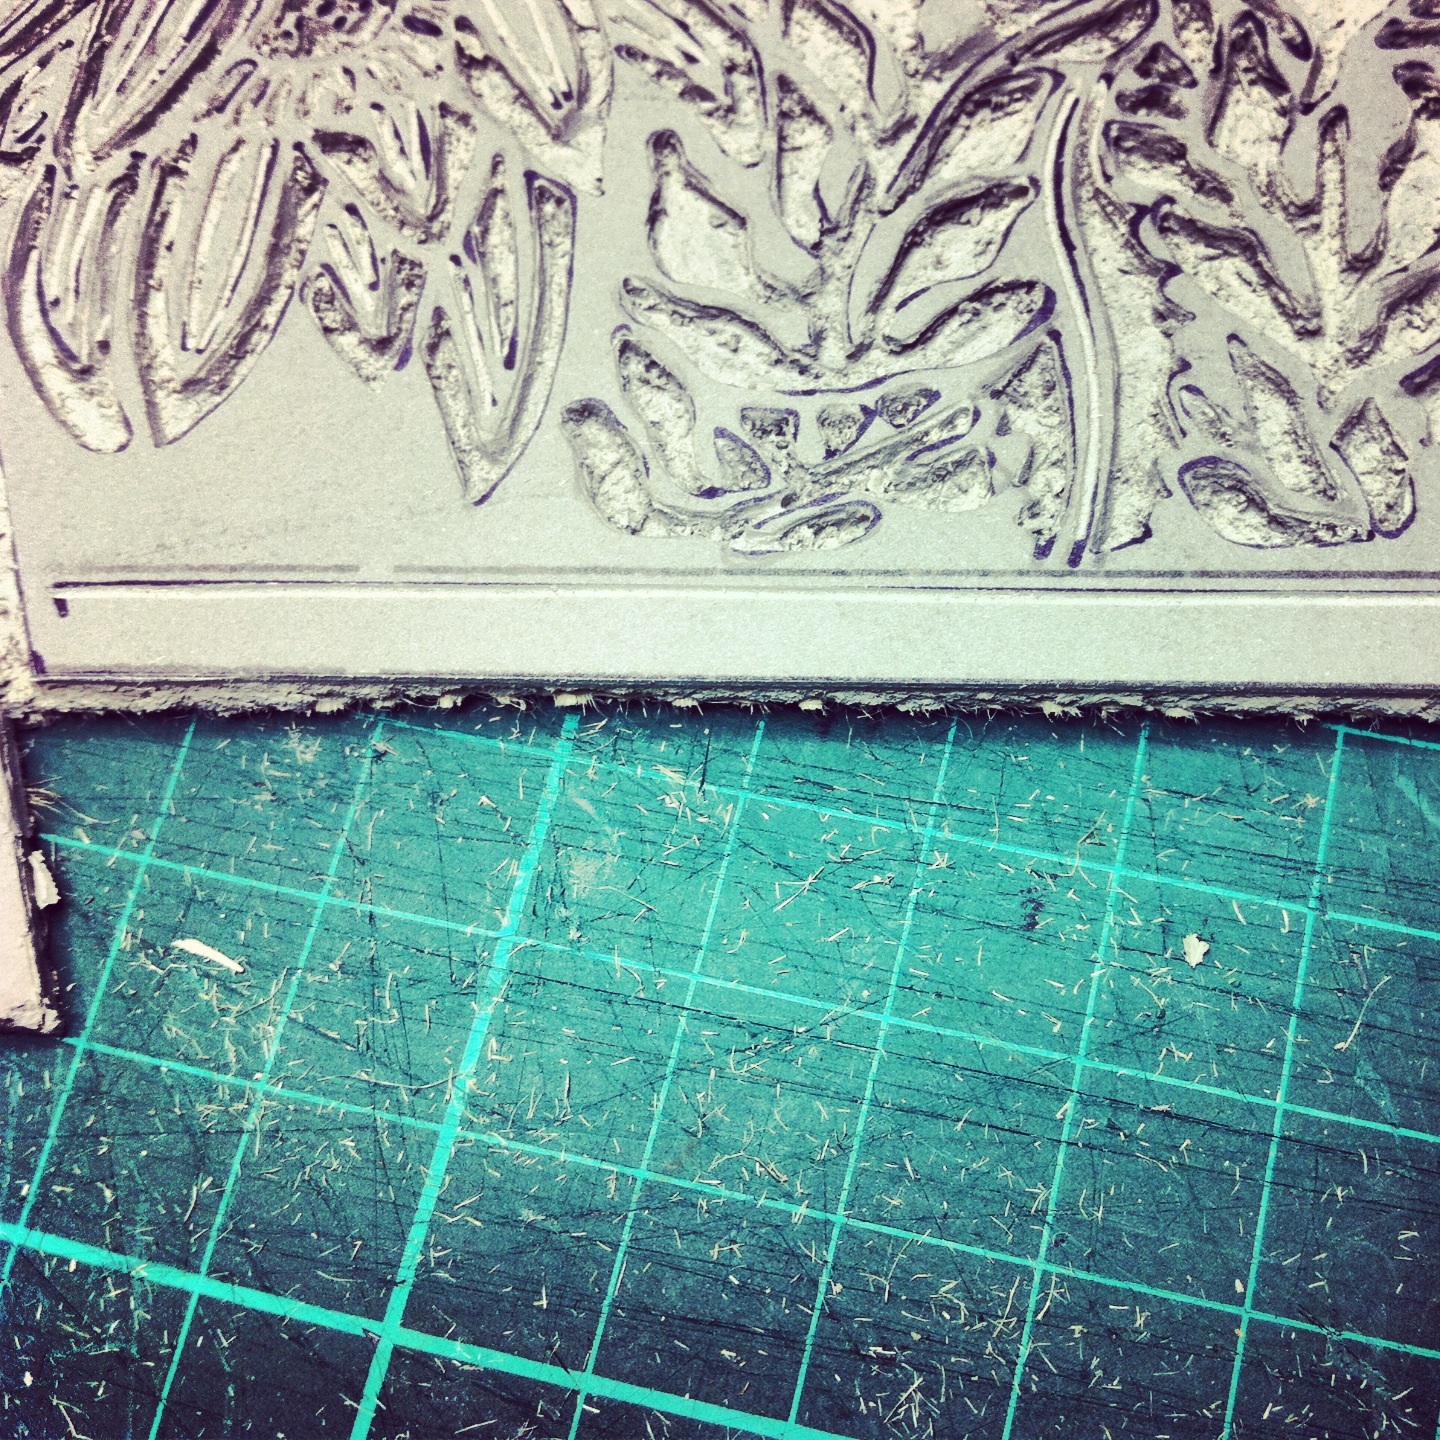
Started with the final central waratah that needed carving. I have already carved the outline with a final linocut carving tool to start. I then use a v or u gouge tool to take out the centre of each of the sections outline. The carved out parts create the white spaces of the work which I can then handcolour of I choose to.
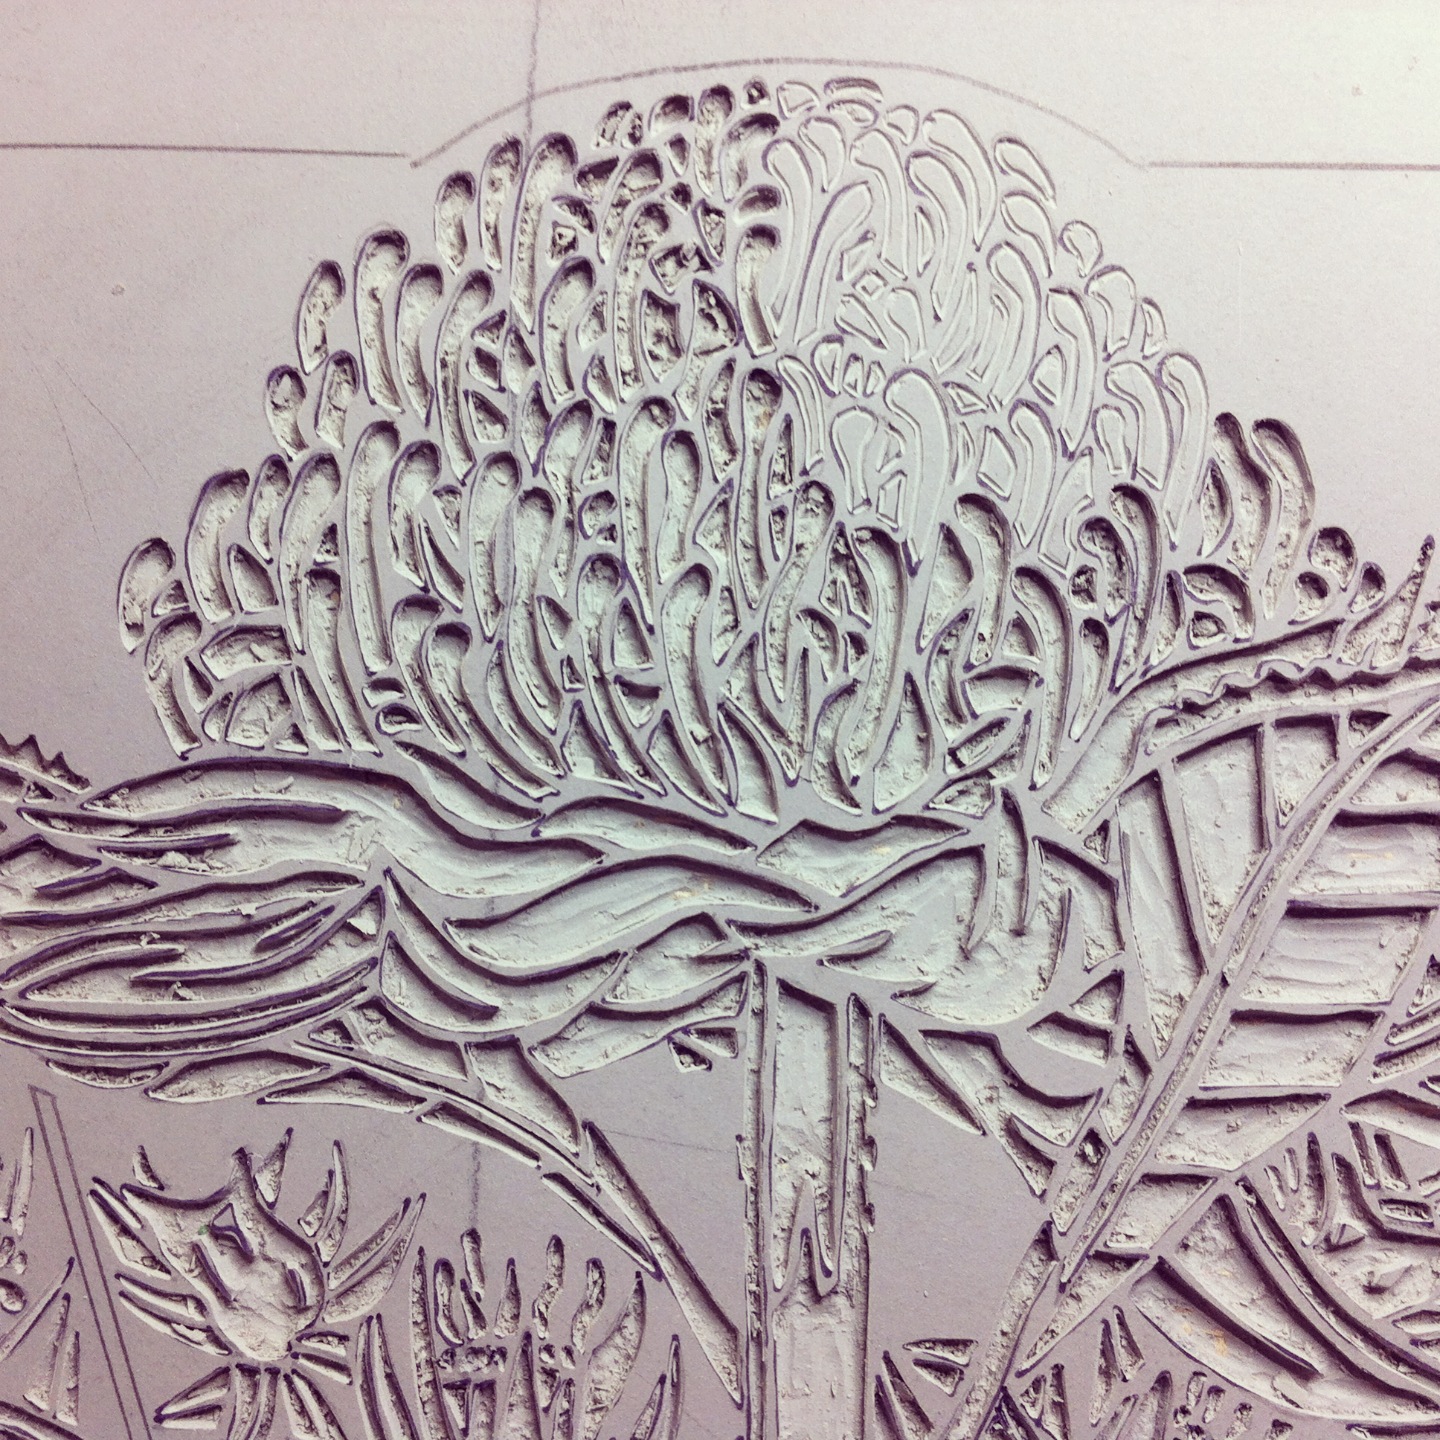
I usually always turn the carving upside down or sideways to check the edges of the carving to make sure I have carved nice clean & neat lines so when printed I get a clean finish to the edges of the design. You can see some of the areas that need to be cleaned up if you look closely.
I am not the best at getting exact measurements so I took over an hour to make sure I had the panels in this piece as evenly mirror reversed as possible.

I tend to get a bit freaked out at this point. I measure carefully but lino does not always cut straight up as it, unlike wood, has some flexibility in it. So I took my time and went slowly as possible to carefully cut these lines. I want the panel structure of this design to be as straight and even as possible to get the Deco Art influence and the mirror from that era reflected in the design as closely as possible.
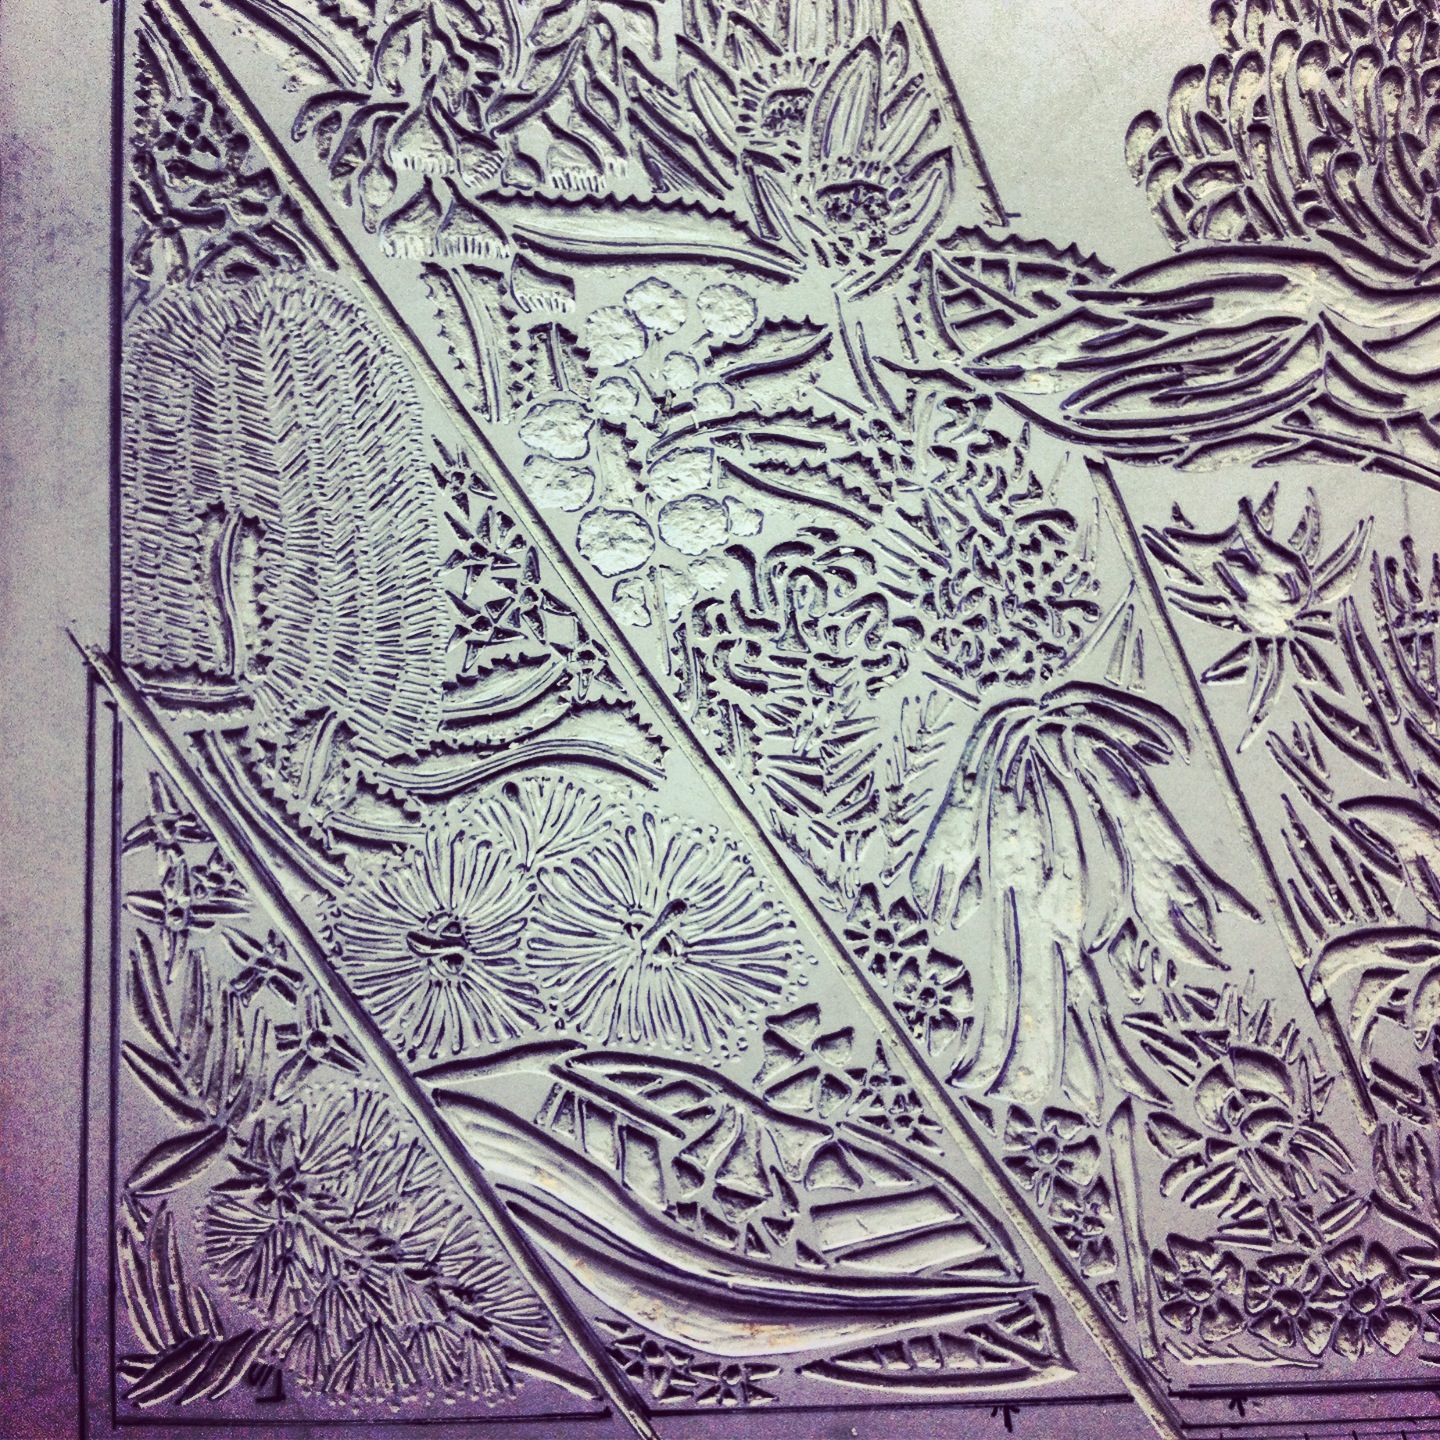
So finally the six lines are carefully finished. This particular design has stepped in panels so I need to cut different lines to create the edge of the work.
I start be cutting a the edge of the work with a sharp blade (Stanley Knife) slicing several times to created a deeper cut. I then VERY carefully crack the rest of the lino. If you have carving up to the edge you need to do this VERY carefully. If you do not take things slowly you are likely to split the lino in the wrong place.

I then turn over the lino block and carefully slit the hessian backing and remove the piece of lino.
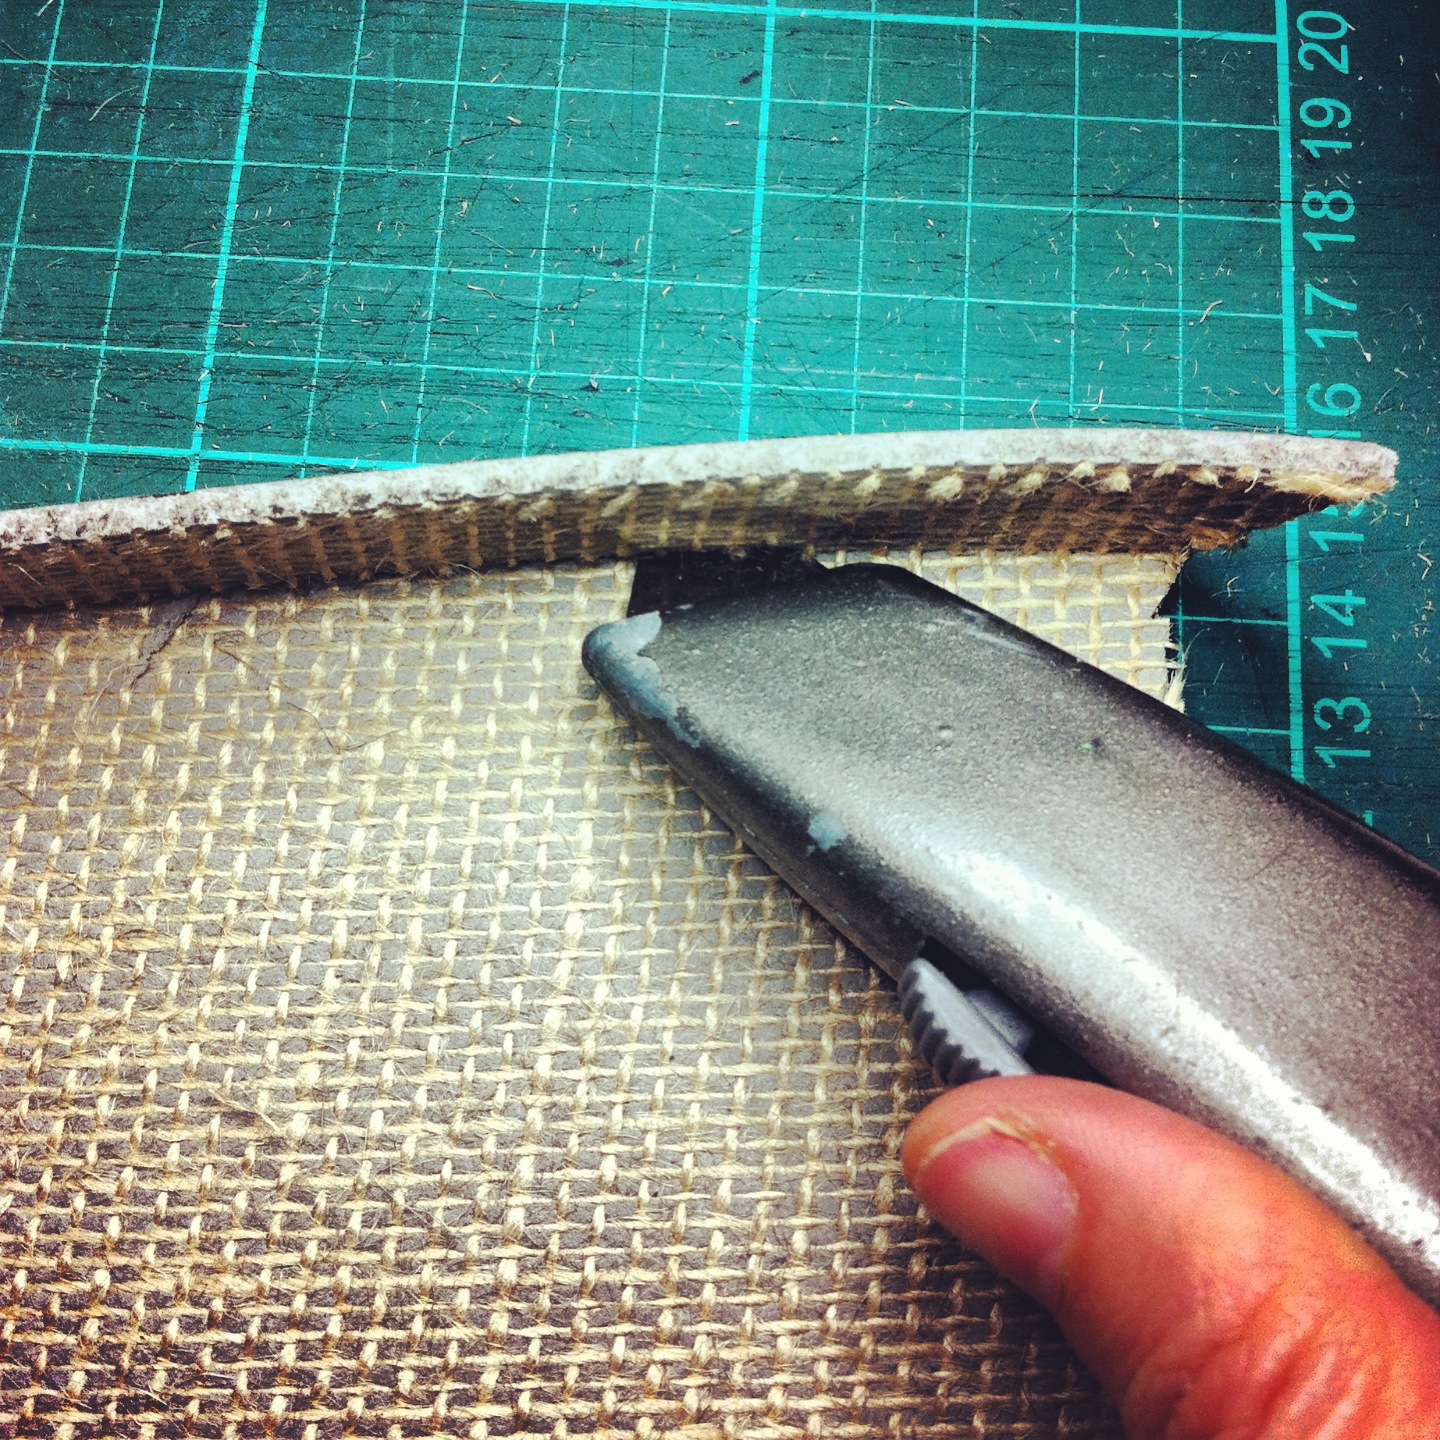

This process makes creating the edges easier but tends to leave them a bit rough and they need to be cleaned up.
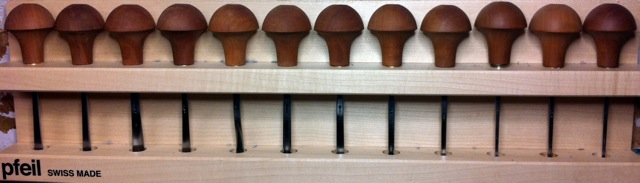
In my new linocut tools there is a lovely large flat blade which is perfect for running along the edges to clean them up.Did I mention I love my new linocutting tools. Mainly because they are so sharp and easy to use making it much easier on my shoulder for carving. They also help me achieve the image that I am looking for. The tools are simply a way to create the design in the lino, it is the final image that is the artwork. I do not see them any different to using brushes, computers, screens, knives, chisels or anything else an artist may use in order to create the final work of art. This is the set of tools I now have. My family bought them for me for Christmas and they make my life so much easier.
But for making a neat edge you can also use a sharp blade or a stanley knife.

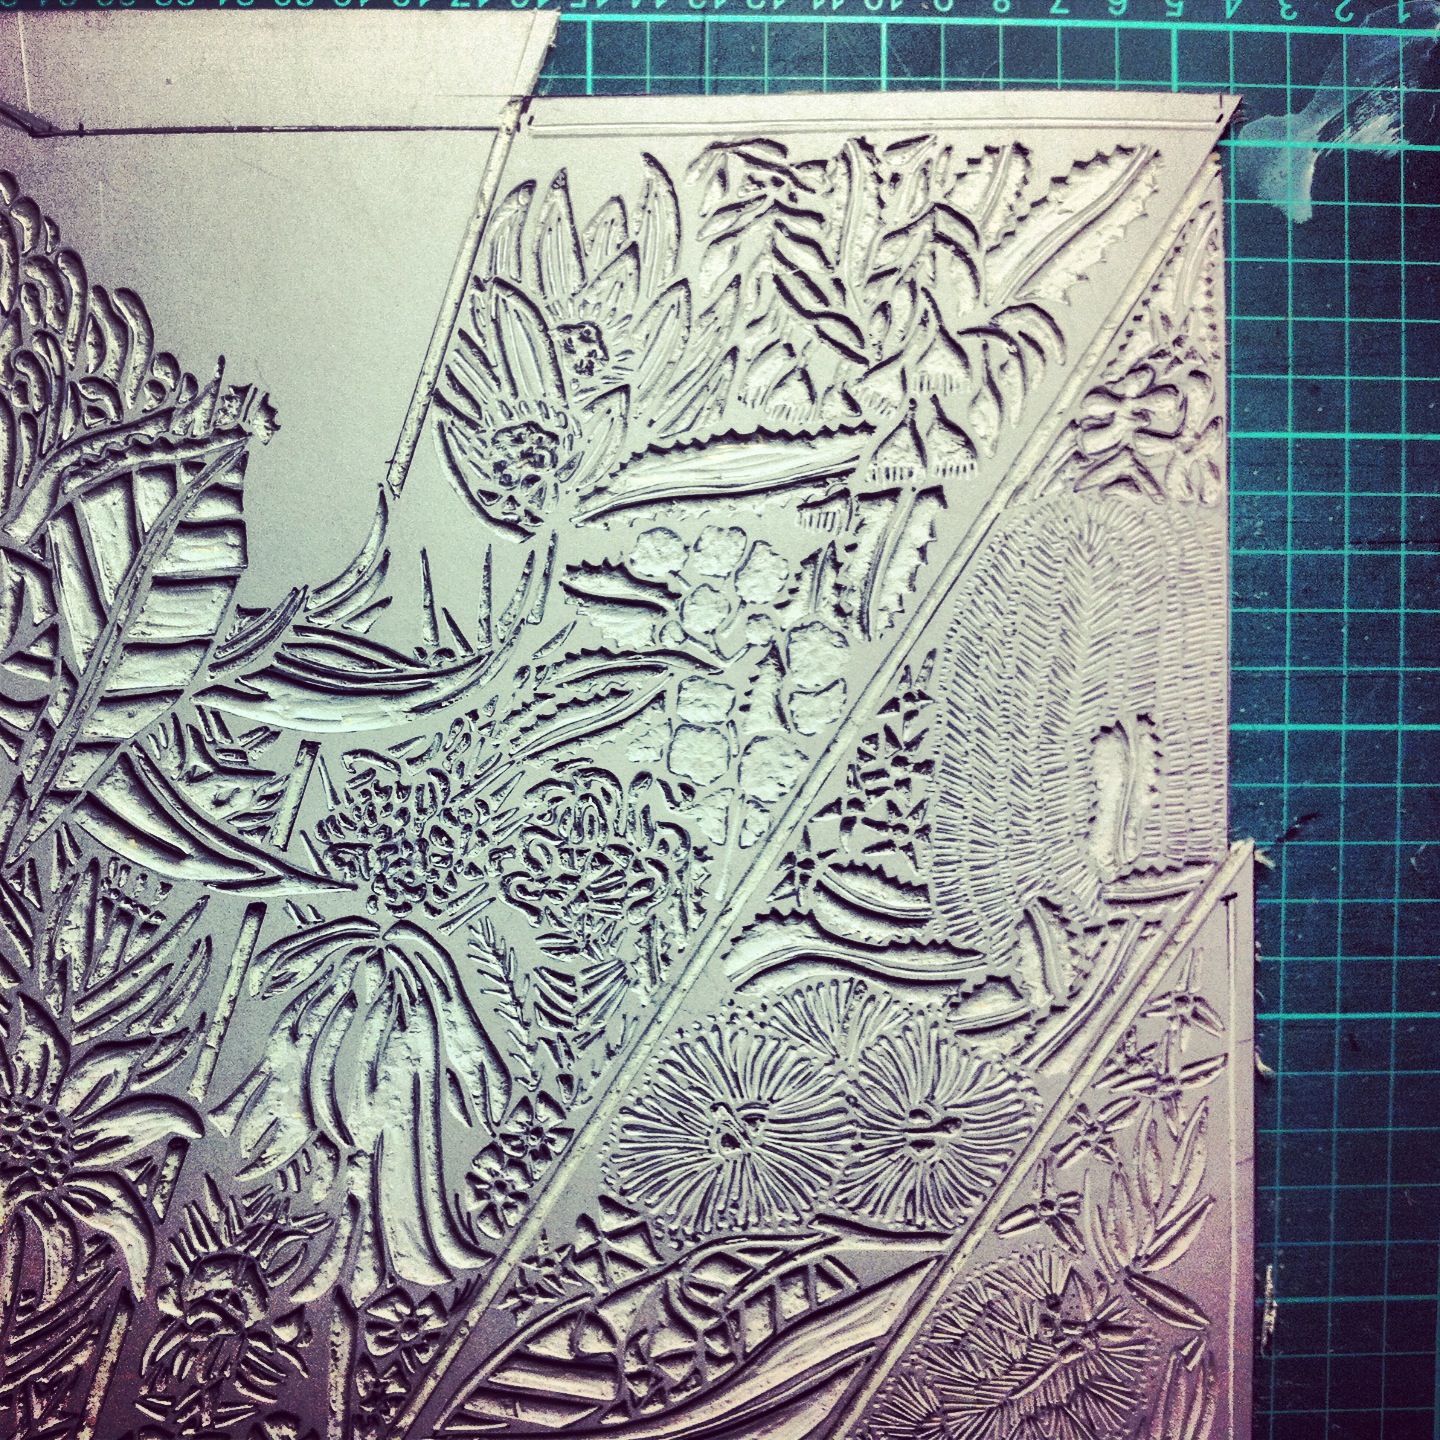
here is the cleaned up edge which means the final print artwork edges will be nice and clean as well.
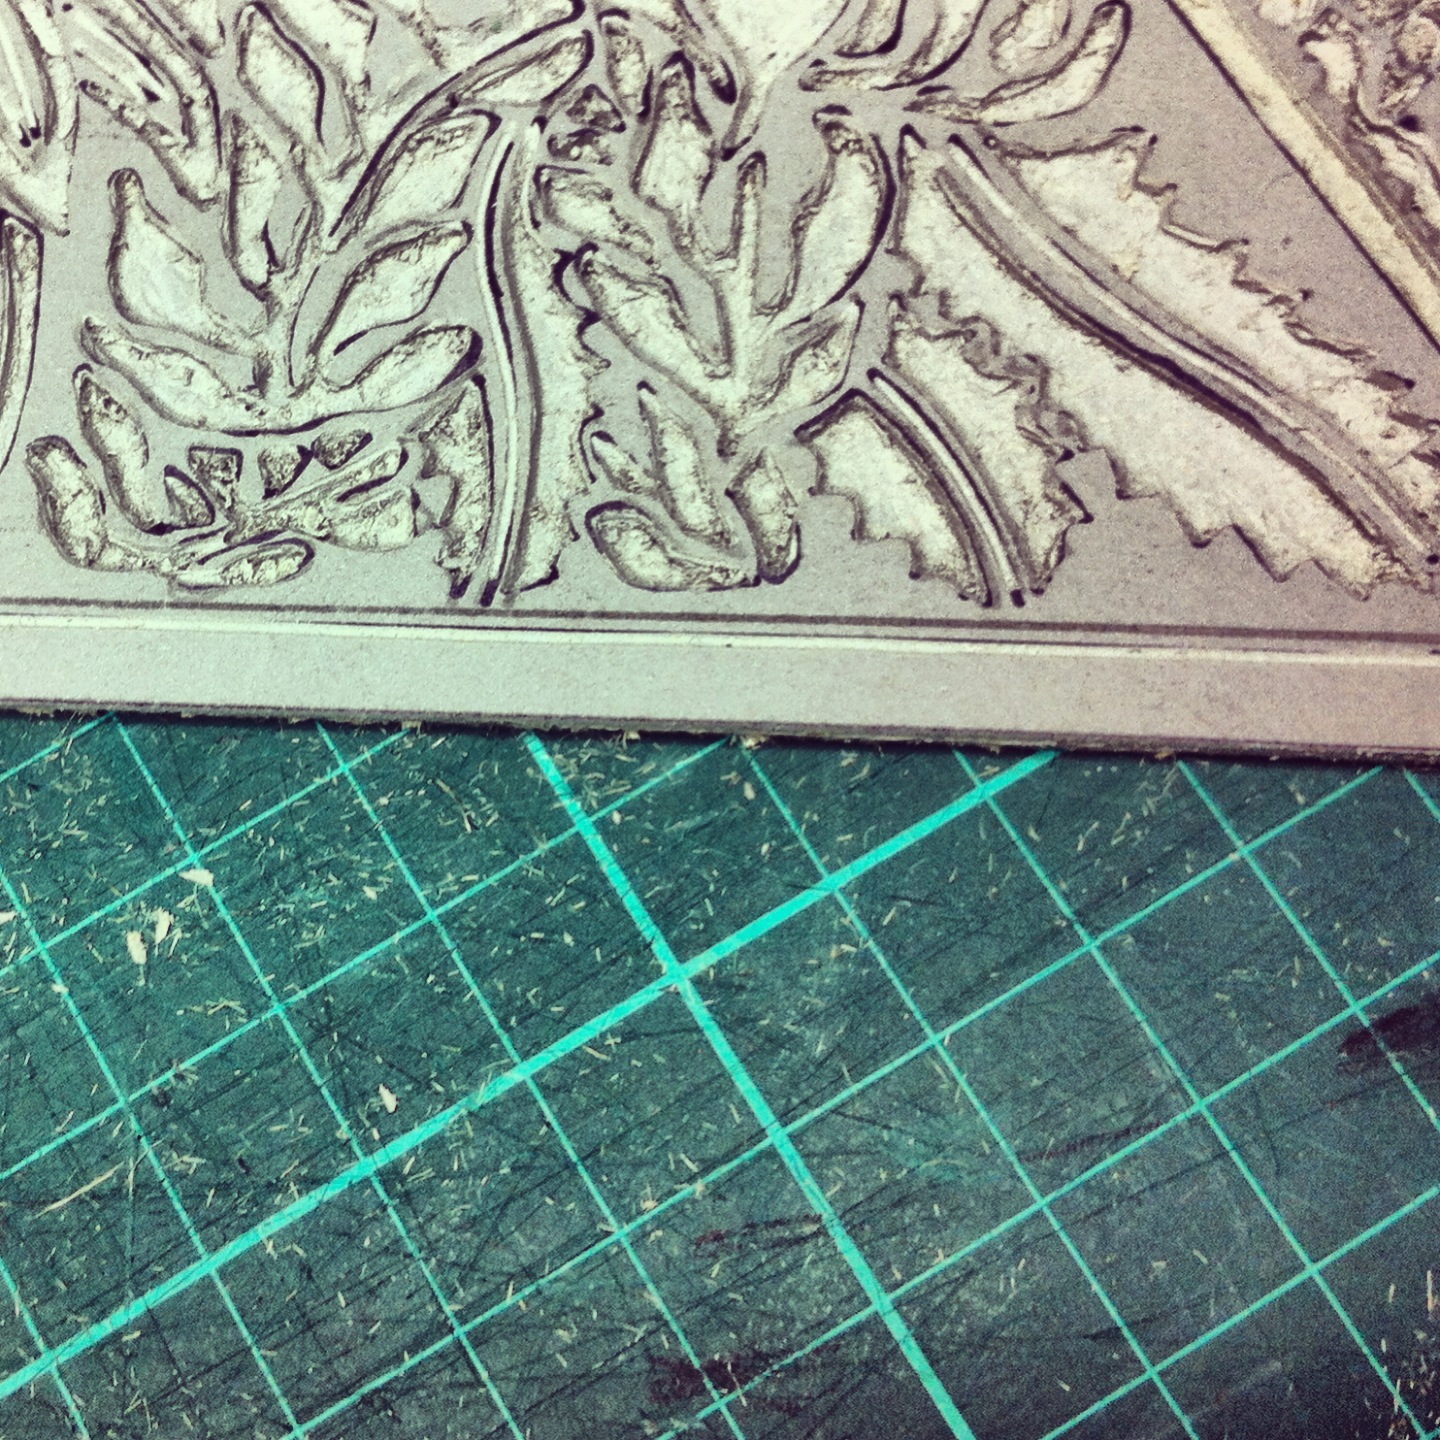
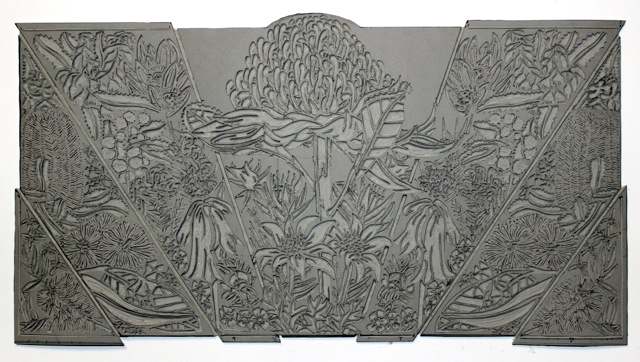
And FINALLY! The finished lino block ready for printing.

Leave a comment